
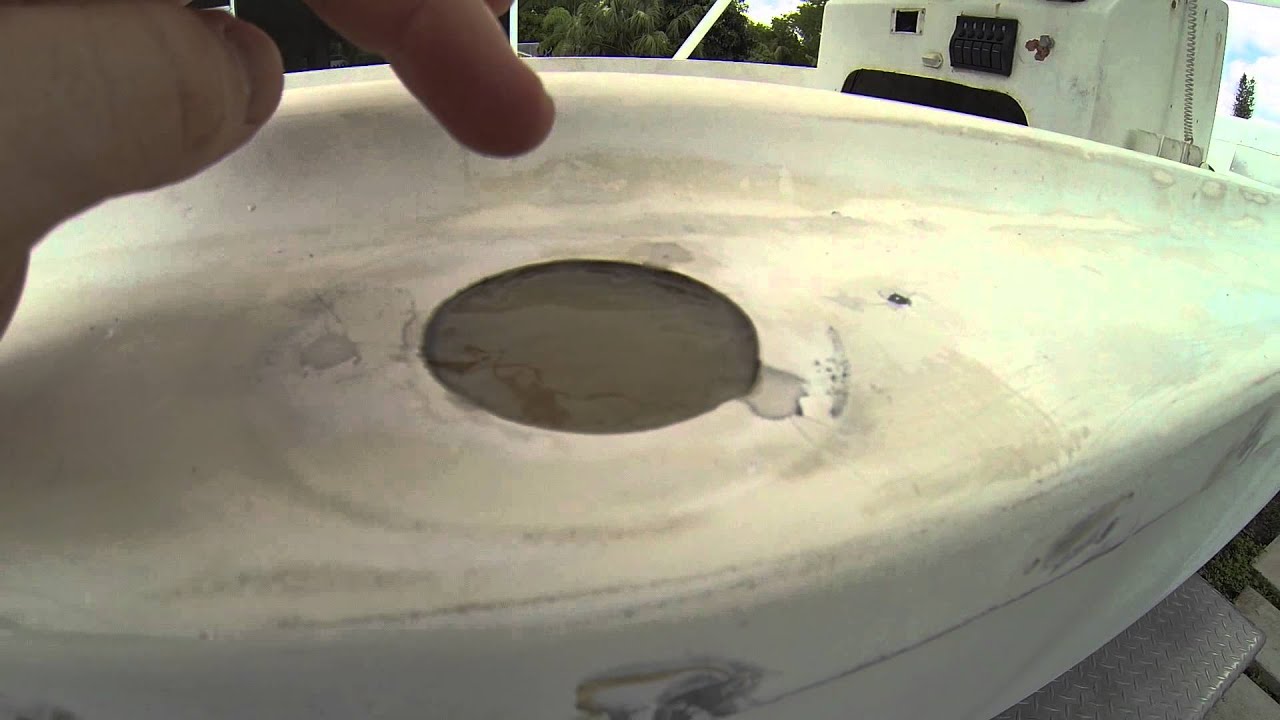
Yachts, particularly those crafted from fiberglass, are prized possessions that require meticulous care and maintenance to preserve their elegance and performance. Fiberglass, known for its durability and flexibility, is a favored material in yacht construction. However, like all materials, it is susceptible to wear and tear over time. Whether it’s a minor scratch or a significant structural issue, knowing how to effectively repair fiberglass is crucial for yacht owners. This ultimate checklist will guide through the essential steps of fiberglass yacht repair, ensuring that the vessel remains in pristine condition.
Initial Assessment
Before starting any repairs, a thorough assessment of the yacht is necessary to identify all areas that need attention.
- Inspect the hull for visible damage, such as cracks, scratches, or blisters.
- Check for signs of water ingress, which can often manifest as discoloration or soft spots.
- Evaluate the deck and superstructure for any signs of delamination or structural weakness.
- Identify any areas where the gelcoat has been compromised, as this can lead to further damage if not addressed promptly.
Preparation and Planning
Once the areas needing repair have been identified, a detailed plan should be put in place to ensure effective restoration.
Gather Necessary Materials
- Fiberglass cloth and resin, suitable for the type of repair needed.
- Sandpaper of various grits for smoothing out repairs.
- Protective gear, including gloves and masks, to ensure safety while working with chemicals.
- Tools such as a grinder, sander, and rollers for applying fiberglass.
Prepare the Workspace
- Ensure the working area is clean and dry to prevent contamination during the repair process.
- Set up adequate lighting to clearly see all areas being worked on.
- Ventilate the area well, as fiberglass repair involves using volatile chemicals that require proper airflow.
Execution of Repairs
With preparation complete, the actual repair process can begin.
Repair Process
- Surface Preparation: Sand down the damaged area to remove any rough edges and to allow the new fiberglass to adhere properly.
- Application: Apply the fiberglass cloth and resin to the affected area. Ensure that the layers are smooth and free from air bubbles.
- Curing: Allow the resin to cure completely. This may take several hours depending on the ambient temperature and humidity levels.
- Finishing: Sand the repaired area to a smooth finish. Follow up with a polishing compound if necessary to match the rest of the yacht’s surface.
Post-Repair Inspection
After completing the repairs, it is essential to conduct a final inspection to ensure everything has been restored correctly.
- Check the repaired areas for any signs of weakness or incomplete bonding.
- Ensure that the color and finish of the repaired areas match the rest of the yacht.
- Test the structural integrity by applying gentle pressure to ensure the repair holds up.
Regular Maintenance Tips
To prolong the life of the yacht and prevent future repairs, regular maintenance is key.
- Routinely wash and wax the yacht to protect the gelcoat from UV damage and environmental wear.
- Perform regular inspections to catch any potential issues before they become serious problems.
- Store the yacht in a sheltered location when not in use to minimize exposure to harsh weather conditions.
By following this comprehensive checklist, yacht owners can confidently manage their fiberglass yacht repair needs. Regular care and timely repairs not only enhance the aesthetic appeal of the yacht but also ensure its safety and longevity on the water.